Note: Before you import your Big Commerce custom fields, we advise that you create/add them in SureDone first before triggering the import. Please read the first part of this guide before following the steps in https://support.suredone.com/solution/articles/1000249394
Creating a New Custom Field
In order to create a new custom field, please follow these steps:
1. Navigate to Settings > Plugins > Bigcommerce
2. Click the Custom Fields link at the bottom of the page.

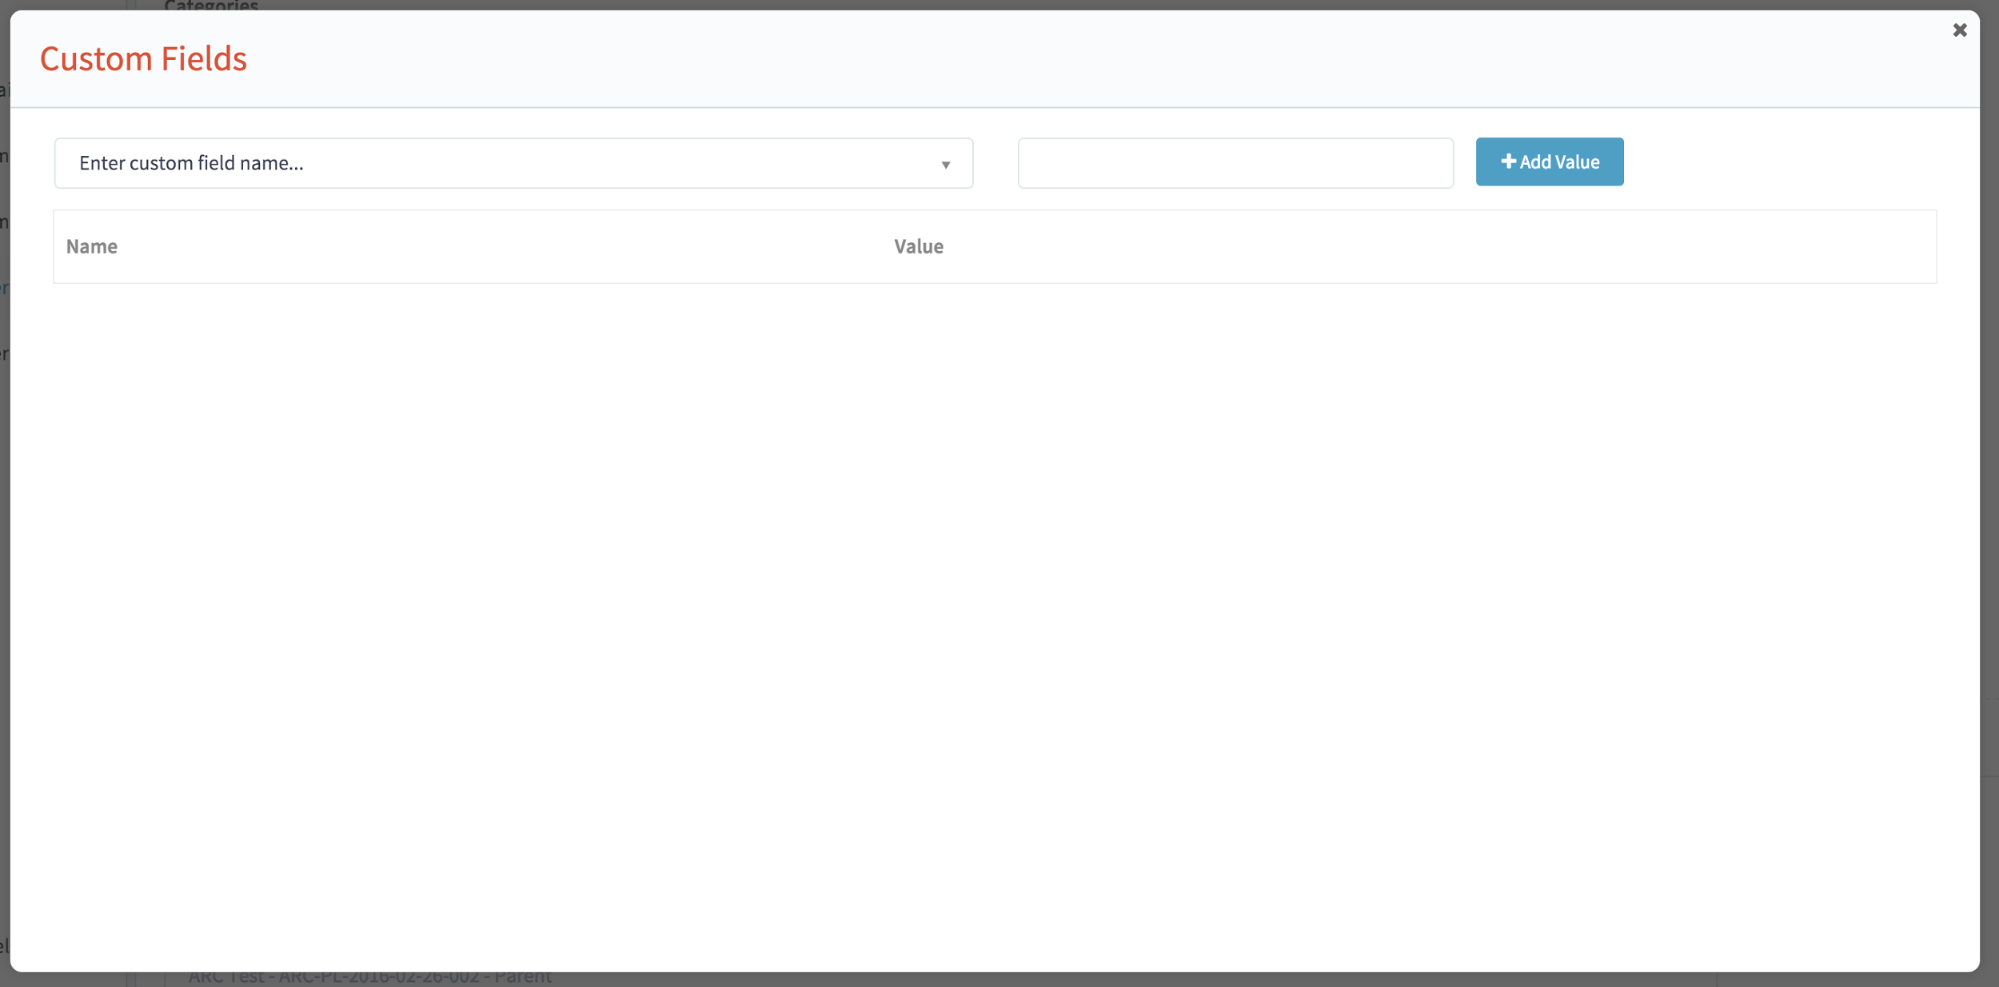
3. Clicking this link will open the Custom Fields modal, shown here:
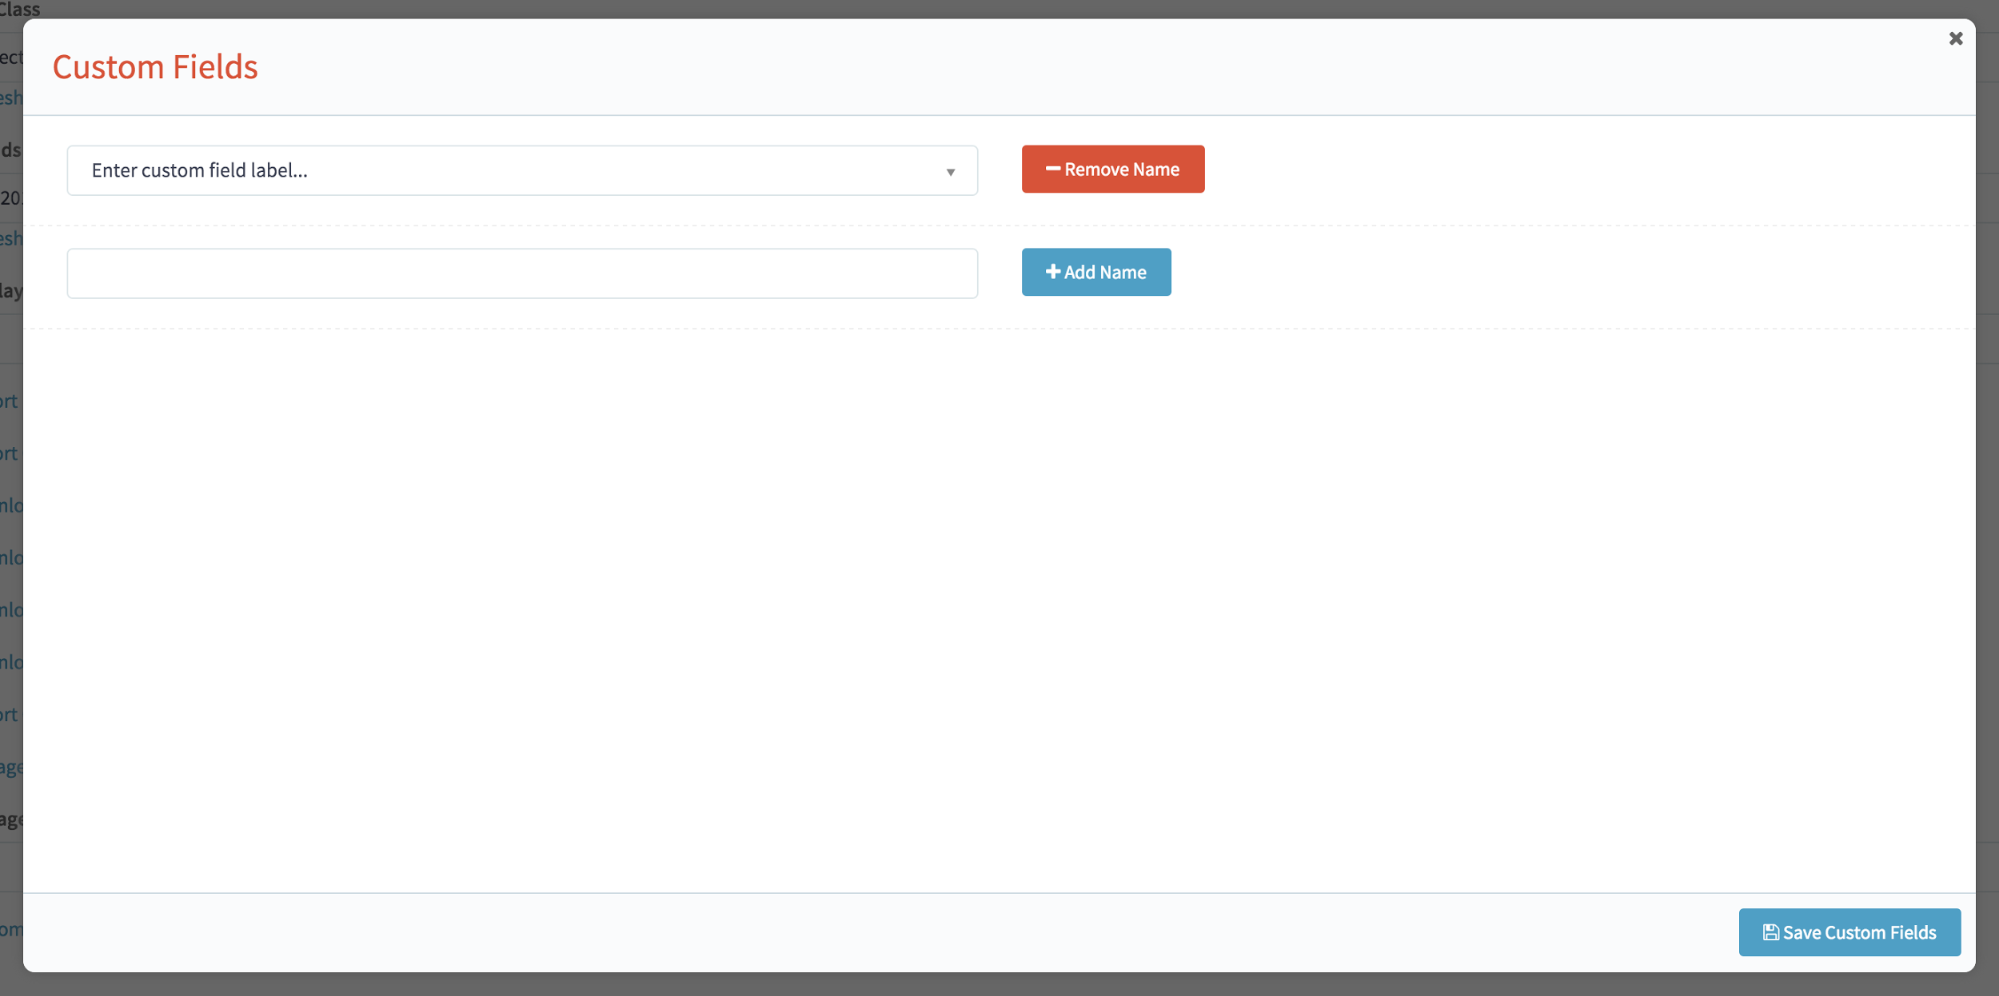
4. To create a new Big Commerce custom field, type the name of new field into text bar:

5. Click the “Add Name” button next to the field, and your new Big Commerce custom field will be added to the list of Custom Fields in the upper left corner of the Custom Fields modal.

Finally, click the “Save Custom Fields” button in the bottom right corner of the modal to save your new Bigcommerce Custom Field. Now, your newly created Custom ield will be available to use when listing items to Bigcommerce from SureDone.
Mapping Custom Fields
After creating your custom field, you can then map them to SureDone custom fields if you'd like the option to update them in bulk using SureDone custom field headers like you would for other channels:

Please note if you are importing your custom fields, these fields will be auto-mapped, but you have the option to change those mappings if you choose to.
Removing a Custom Field
To remove a custom field, first go to the Bigcommerce settings page in SureDone (Settings > Plugins > Bigcommerce). Next, click the “Custom Fields” link at the bottom of the page.
Clicking this link will open the Custom Fields modal, shown here:
Then, in the dropdown at the top of the page, find the name of the custom field you’d like to remove.
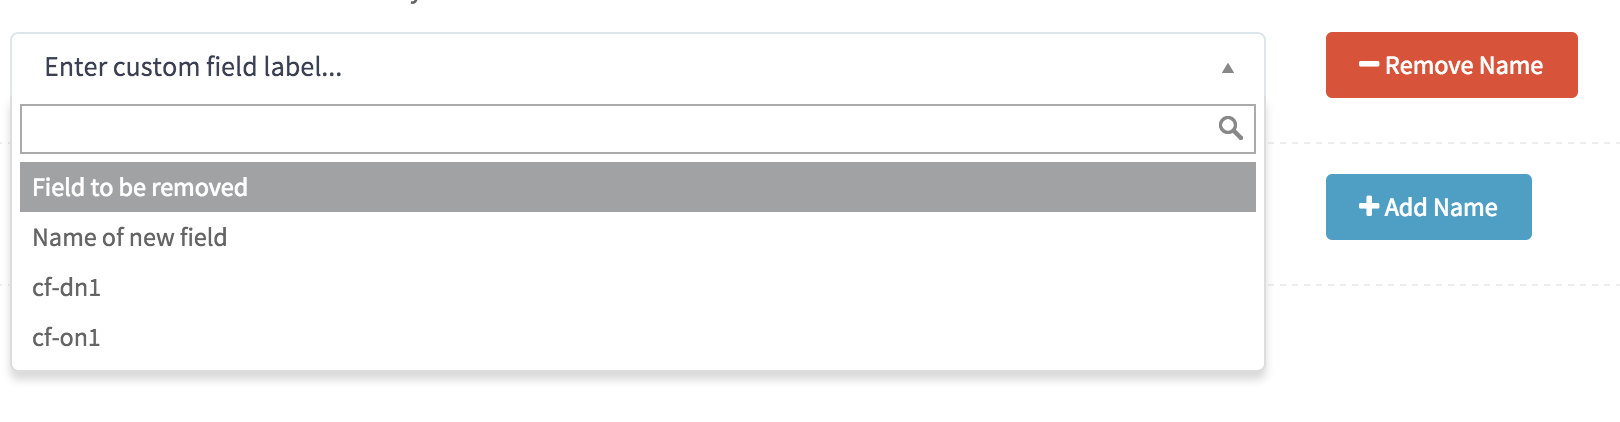
Next, click the name of the field you’d like to remove.

Once the name of the field you want to remove is displayed in the drop down, click the “Remove Name” button to remove it from the list of Bigcommerce custom fields. Once this has been done, the modal will display a message confirming the field has been removed.

Finally, click the “Save Custom Fields” button in the bottom right corner of the modal to save your changes to the list of Bigcommerce custom fields. Now, the custom field you removed will no longer be available to use when listing items to Bigcommerce from SureDone.
Adding a Custom Field to a Listing
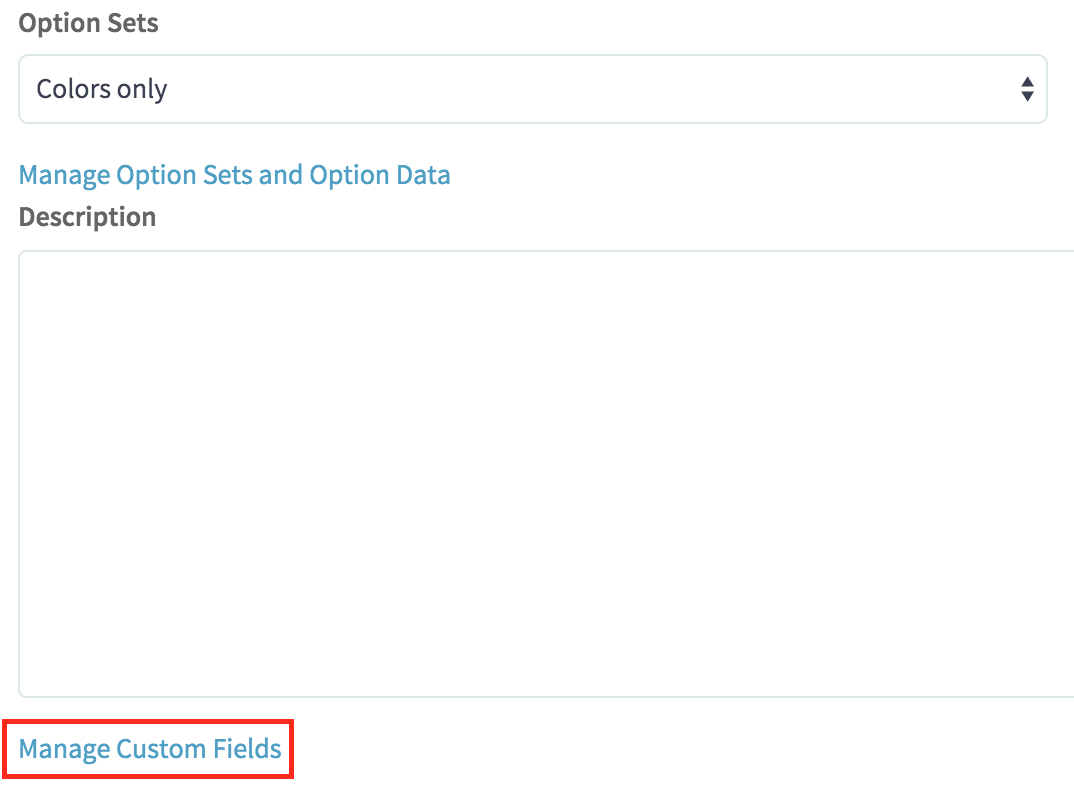
To add a custom field and an associated value to a Bigcommerce listing, first go to a listing in SureDone -- these steps can be performed on a new listing, or an existing one. Next, click on the “Manage Custom Fields” link at the bottom of the Bigcommerce section.
Clicking “Manage Custom Fields” opens the Custom Fields modal. From there, you’ll be able to add Bigcommerce custom fields and values to your listing.
To add a Bigcommerce custom field and value, first select a Bigcommerce custom field name from the dropdown in the top left of the Custom Field modal by clicking the name of the Bigcommerce custom field. You may also type the name of the field to filter down the list.
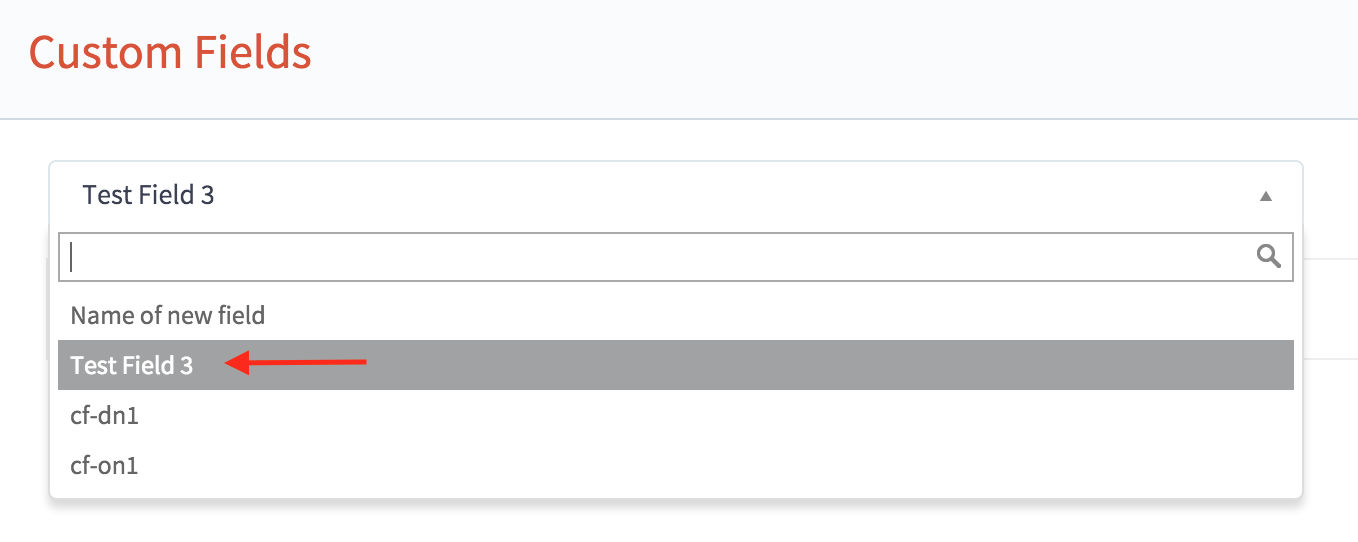
The name of the Bigcommerce custom field will be displayed in the collapsed dropdown once it has been selected.

Next, enter a value in the adjacent text field. This will be the value associated with the selected Bigcommerce custom field for this listing.

Then, click the “Add Value” button next to the text field.

To add more Bigcommerce custom fields and values to this listing, just repeat these steps.
When you’re finished adding custom fields, click the X in the top right corner of the Custom Fields modal to close the modal and return to your listing.
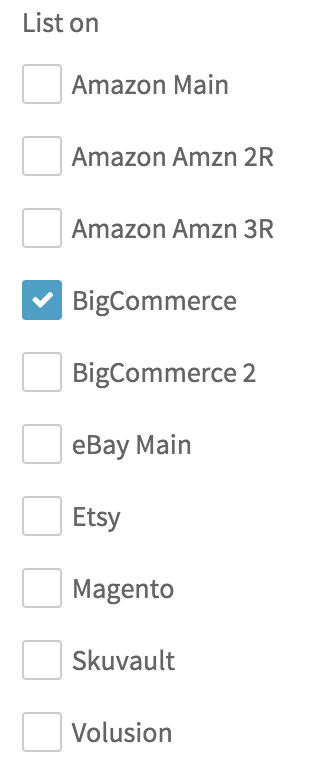
To send your listing’s Bigcommerce custom fields to your Bigcommerce store, make sure its entry on the “List on” field is checked.
Then, click the “Update” button, this will send your Bigcommerce custom fields and values to your Bigcommerce store.

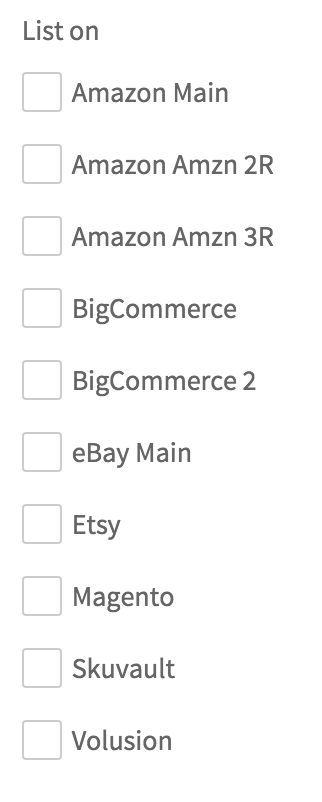
To save the BigCommerce custom fields and values to the listing on SureDone only (no updates to Bigcommerce), make sure you’ve unchecked all of your sales channels in the “List on” section.
Then, click the “Update” button at the bottom of the page.
Editing a Custom Field on a Listing
To edit a Bigcommerce custom field on a listing, first open that listing in SureDone. Next, open the Custom Field modal in that listing by clicking the “Manage Custom Fields” link. The modal will open, and the previously added Bigcommerce custom fields and values will be shown inside.
The “Value” fields are text fields, and can be edited simply by clicking inside them and changing the text.

To edit more BigCommerce custom fields and values, just repeat these steps.
To send your listing’s edited BigCommerce custom fields to your BigCommerce store, make sure its entry on the “List on” field is checked.
Then, click the “Update” button, this will send your edited Big Commerce custom fields and values to your Big Commerce store.
To save the Big Commerce custom fields and values to the listing on SureDone only (no updates to Big Commerce), make sure you’ve unchecked all of your sales channels in the “List on” section.
Then, click the “Update” button at the bottom of the page.
Removing a Custom Field from a Listing
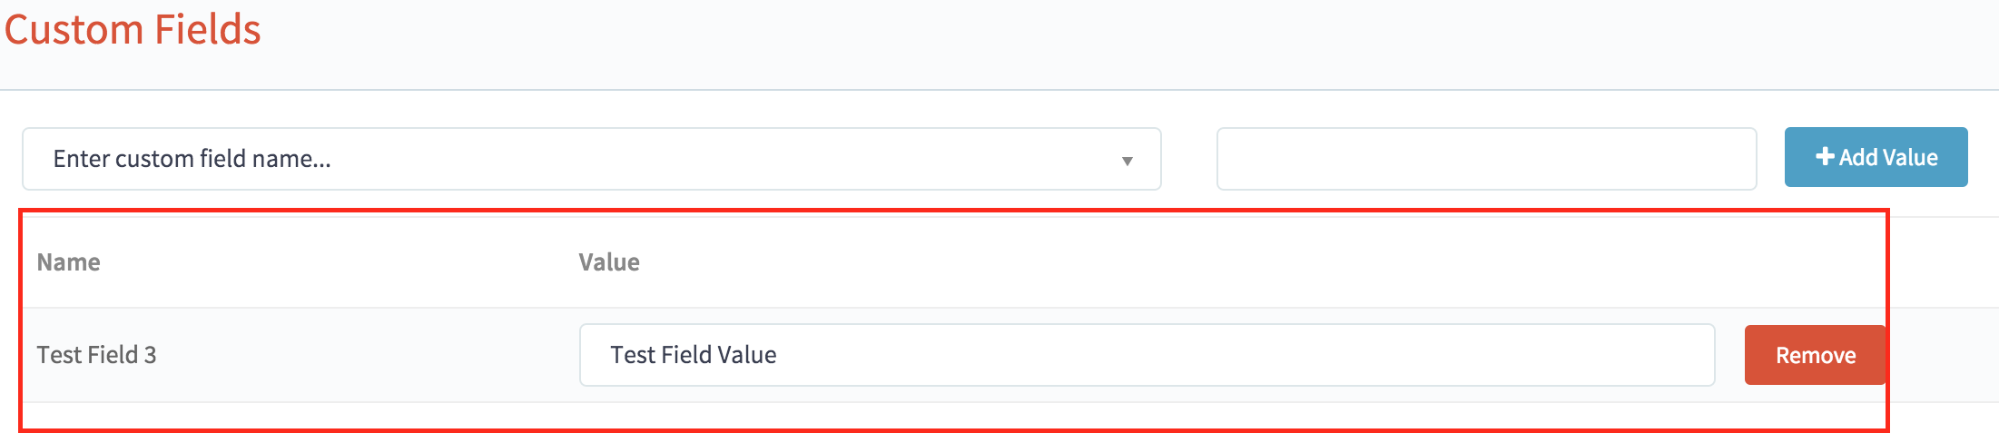
In order to remove a Big Commerce custom field from a listing, first open that listing in SureDone, and open the Custom Fields modal by clicking the “Manage Custom Fields” link. You will be able to see the list of Big Commerce custom field names and values for that listing in the modal.
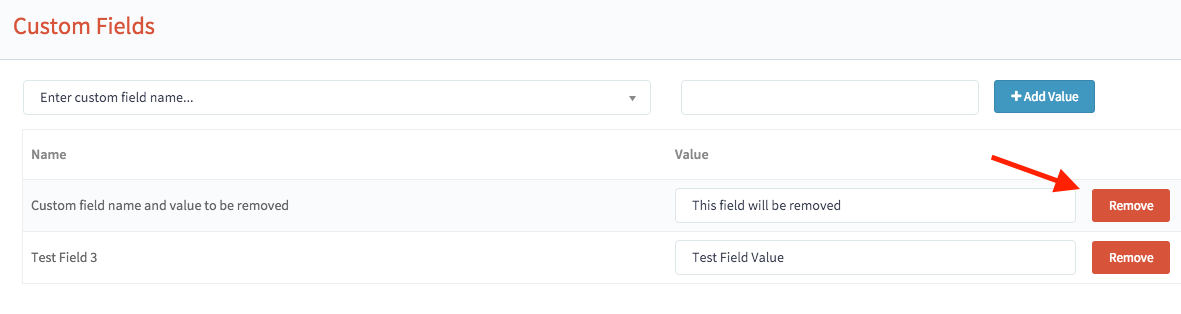
Note the “Remove” button to the right of each Big Commerce custom field name and value.
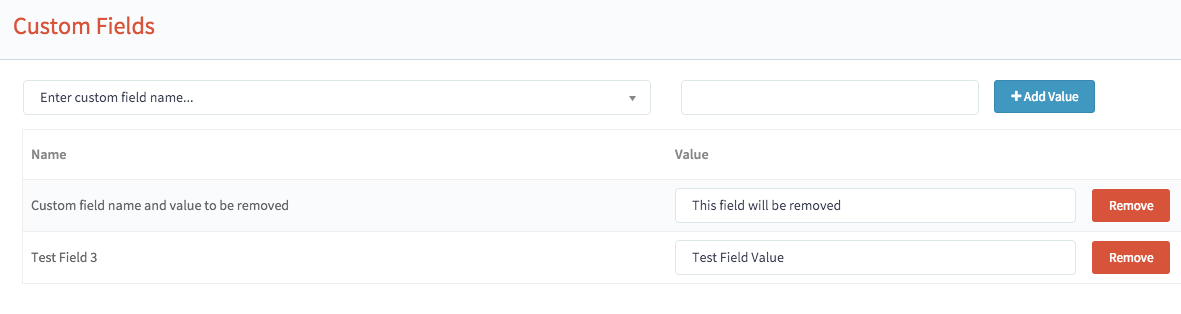
To remove a Big Commerce custom field from a listing, click the “Remove” button next to the name and value that you would like to remove. The name and value will be removed from the modal.
Before clicking remove:
After clicking remove:
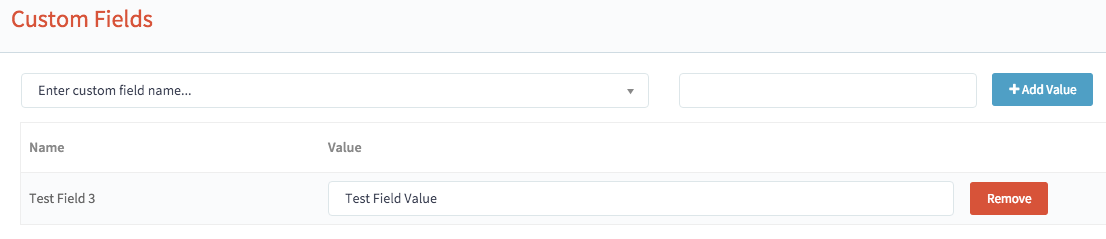
To remove more Big Commerce custom fields and values, just repeat these steps.
To remove the Big Commerce custom fields and values from your Big Commerce store, make sure its entry on the “List on” field is checked.
Then, click the “Update” button to remove those Big Commerce custom fields and values to your Big Commerce store.
To remove the custom field(s) and value(s) on SureDone only (no Big Commerce update), make sure you’ve unchecked all of your sales channels in the “List on” section.
Then, click the “Update” button at the bottom of the page.
To learn how to add and edit Big Commerce custom fields in bulk, please read the following guide: https://support.suredone.com/solution/articles/1000249417