

The first step to managing Amazon through SureDone is to authorize the connection between the two systems. In order for SureDone to communicate with Amazon, the seller’s credentials need to be authenticated by Amazon. This can be done in a few easy steps, while you are logged into SureDone. This only needs to be done once and then the authorization token is stored inside SureDone. As we greatly respect your privacy, you can revoke these credentials at anytime. But, remember that doing so will cause SureDone and Amazon to fall out of sync.
Follow this procedure:
1. Login to your SureDone account.
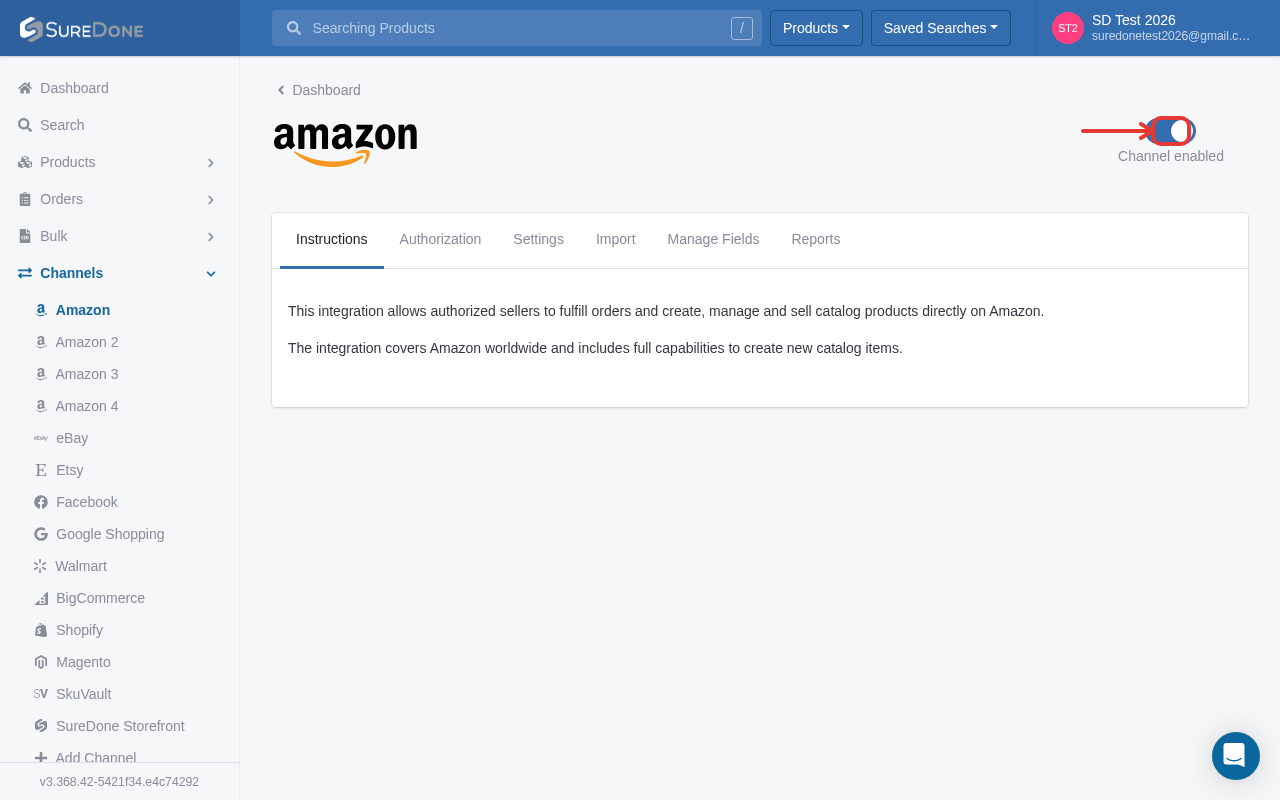
2. Log in to SureDone, then in the left-hand navigation click Channels, and select the Amazon instance you want to authorize (e.g. Amazon, Amazon 2, Amazon 3, or Amazon 4 — each instance has its own menu entry).
3. On the Amazon channel page, use the Channel enabled toggle at the top right of the page to turn the instance on.
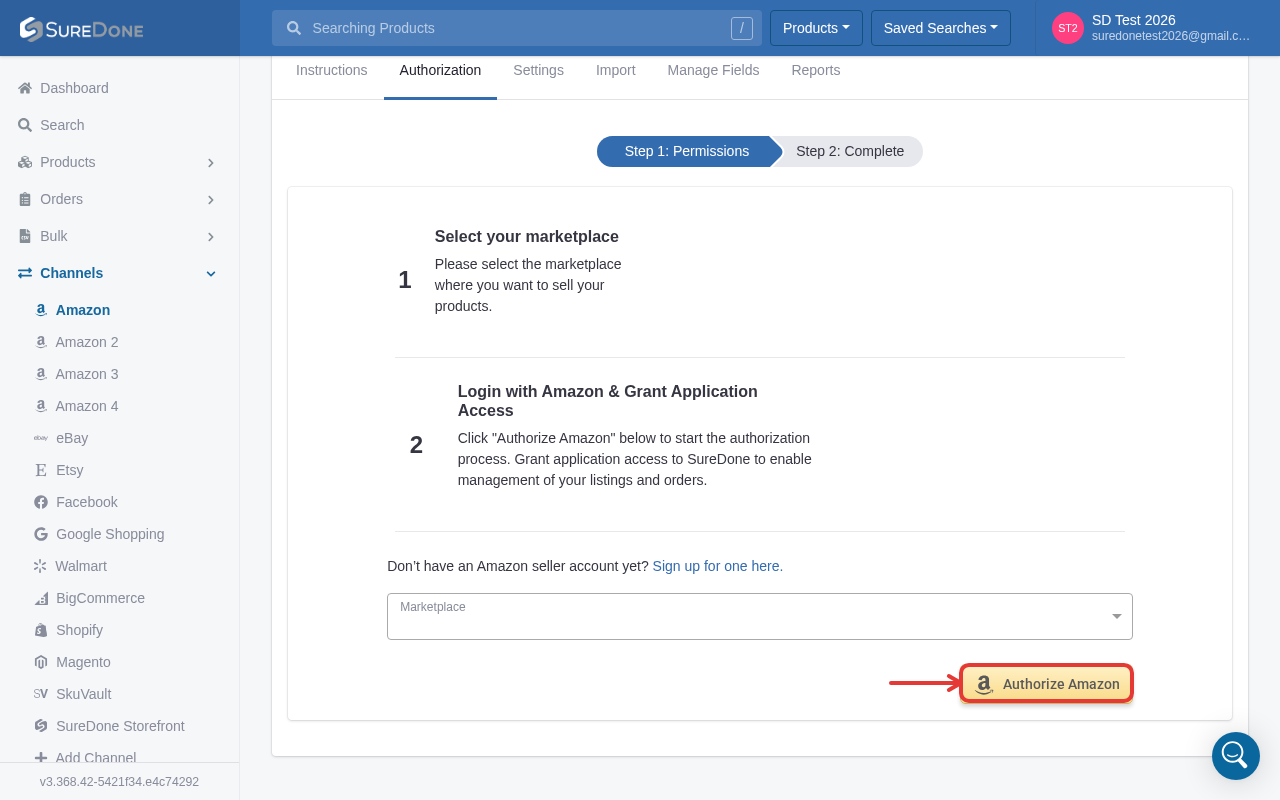
4. Click the Authorization tab. In Step 1 of the wizard, choose your Marketplace from the dropdown, then click Authorize Amazon to begin the authorization process. (There is no separate 'Save Settings' step.)
5. You will be redirected to Amazon Seller Central's application-authorization consent screen. Log in with your Amazon seller credentials, review the requested permissions/scopes, and approve access.

6. After granting access, you'll be redirected back to SureDone, where the Authorization tab will show 'You are ready to go!' confirming the connection is complete.
7. Your Status will then show enabled for that Amazon instance on refreshing the page.
Now you are ready to choose your Amazon Settings.
